
Customising your inquiry form and lists
1. Customise the inquiry form
Go to Settings → Inquiry Form. It's organised into a few tabs:
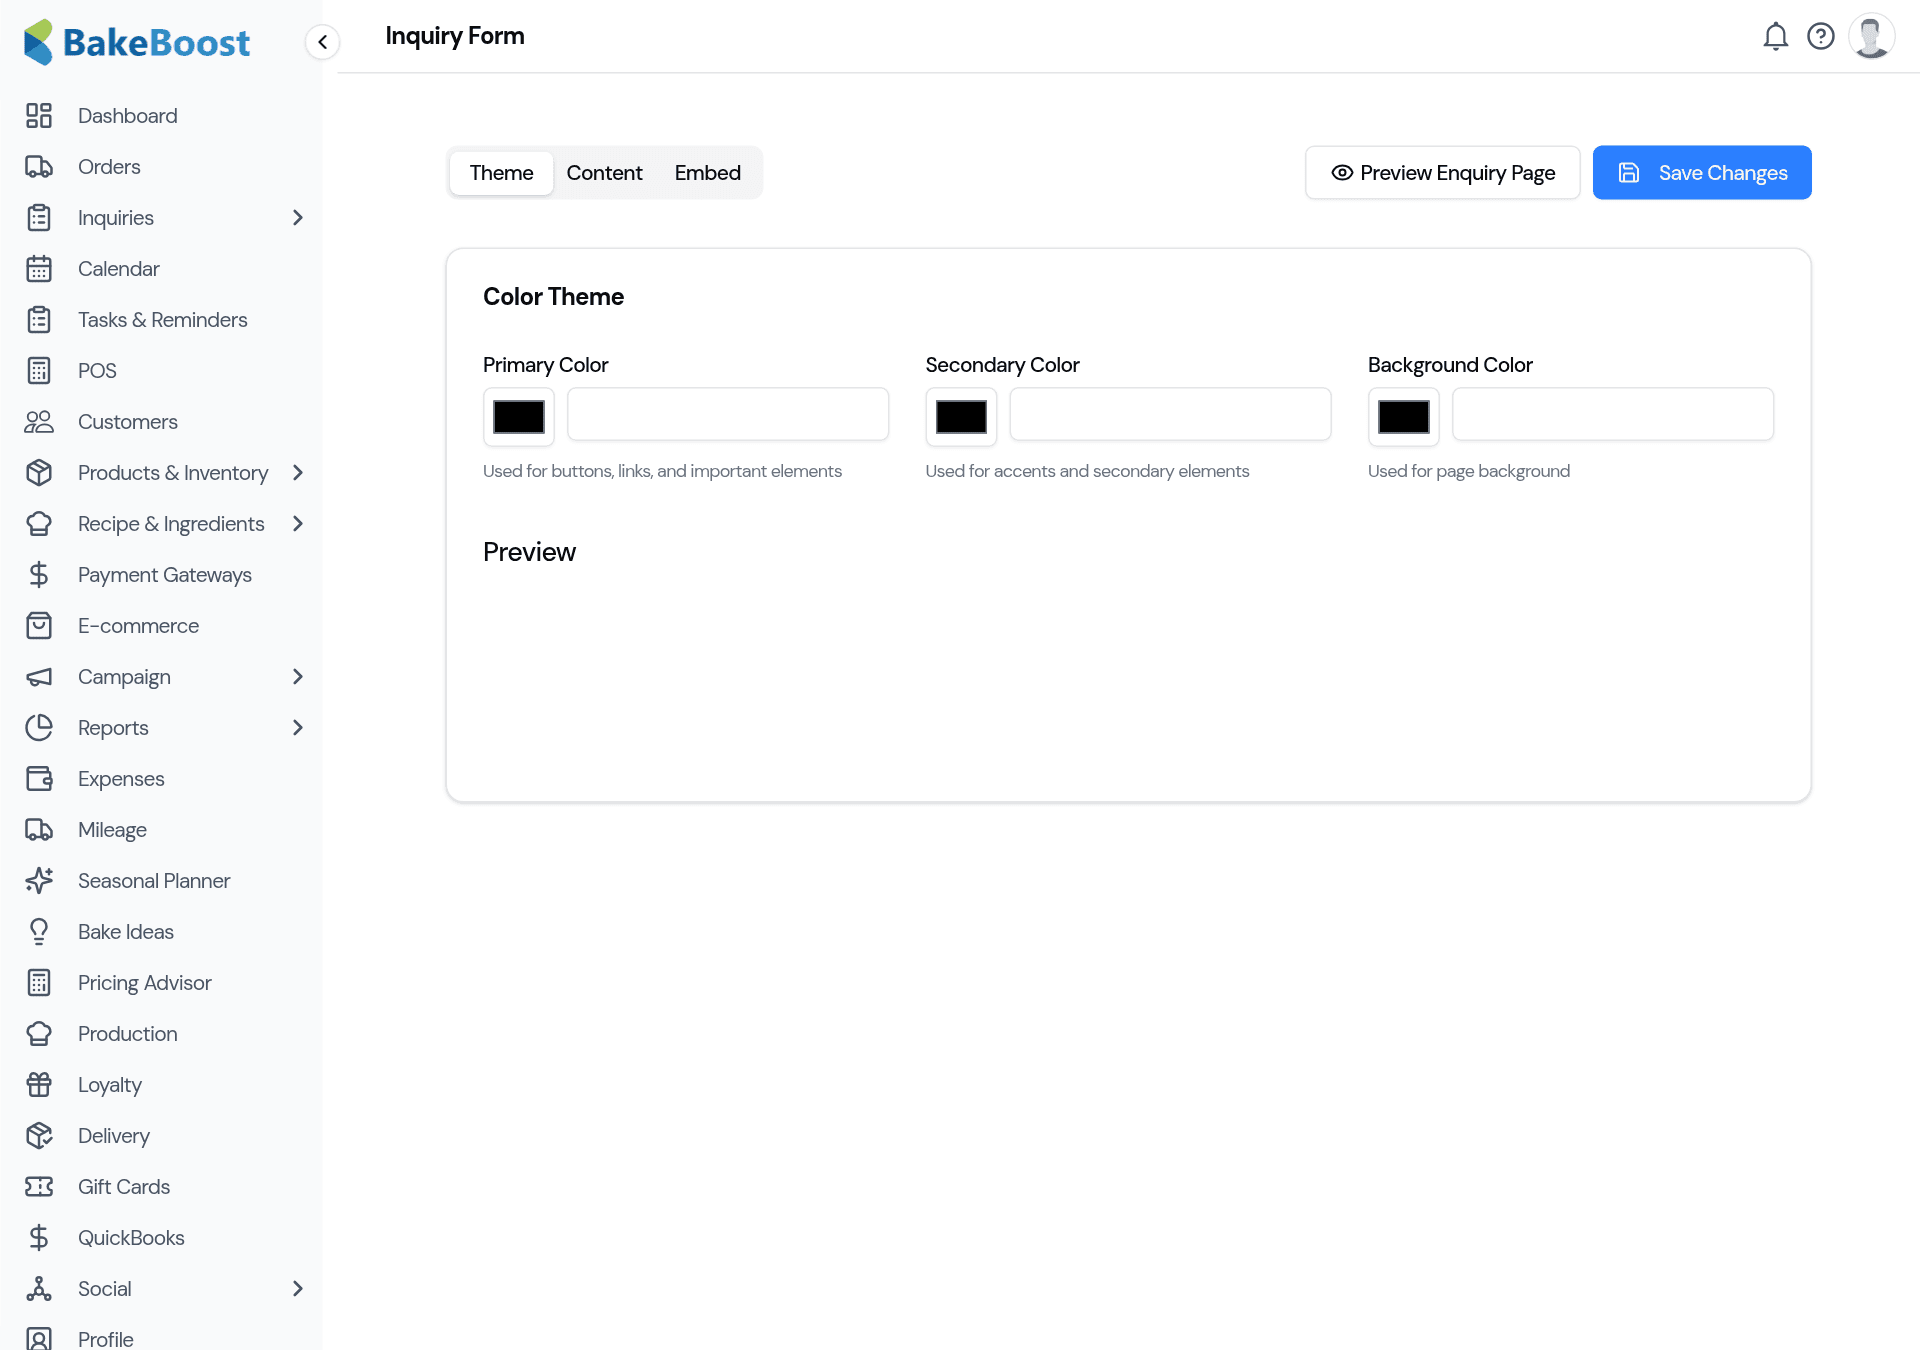
- Theme — set the colours (primary, secondary, background) so the form matches your brand, with a live preview as you go.
- Content — choose what the form asks for and the wording around it.
- Embed — get a snippet to drop the enquiry form onto your own website, so requests still land in Bake Boost.
Use Preview Enquiry Page to see exactly what customers see, then Save Changes.
2. Manage your lists
Go to Settings → Manage Lists. These are the dropdown options customers and you pick from across your inquiry and order forms — event types, delivery types, and more.
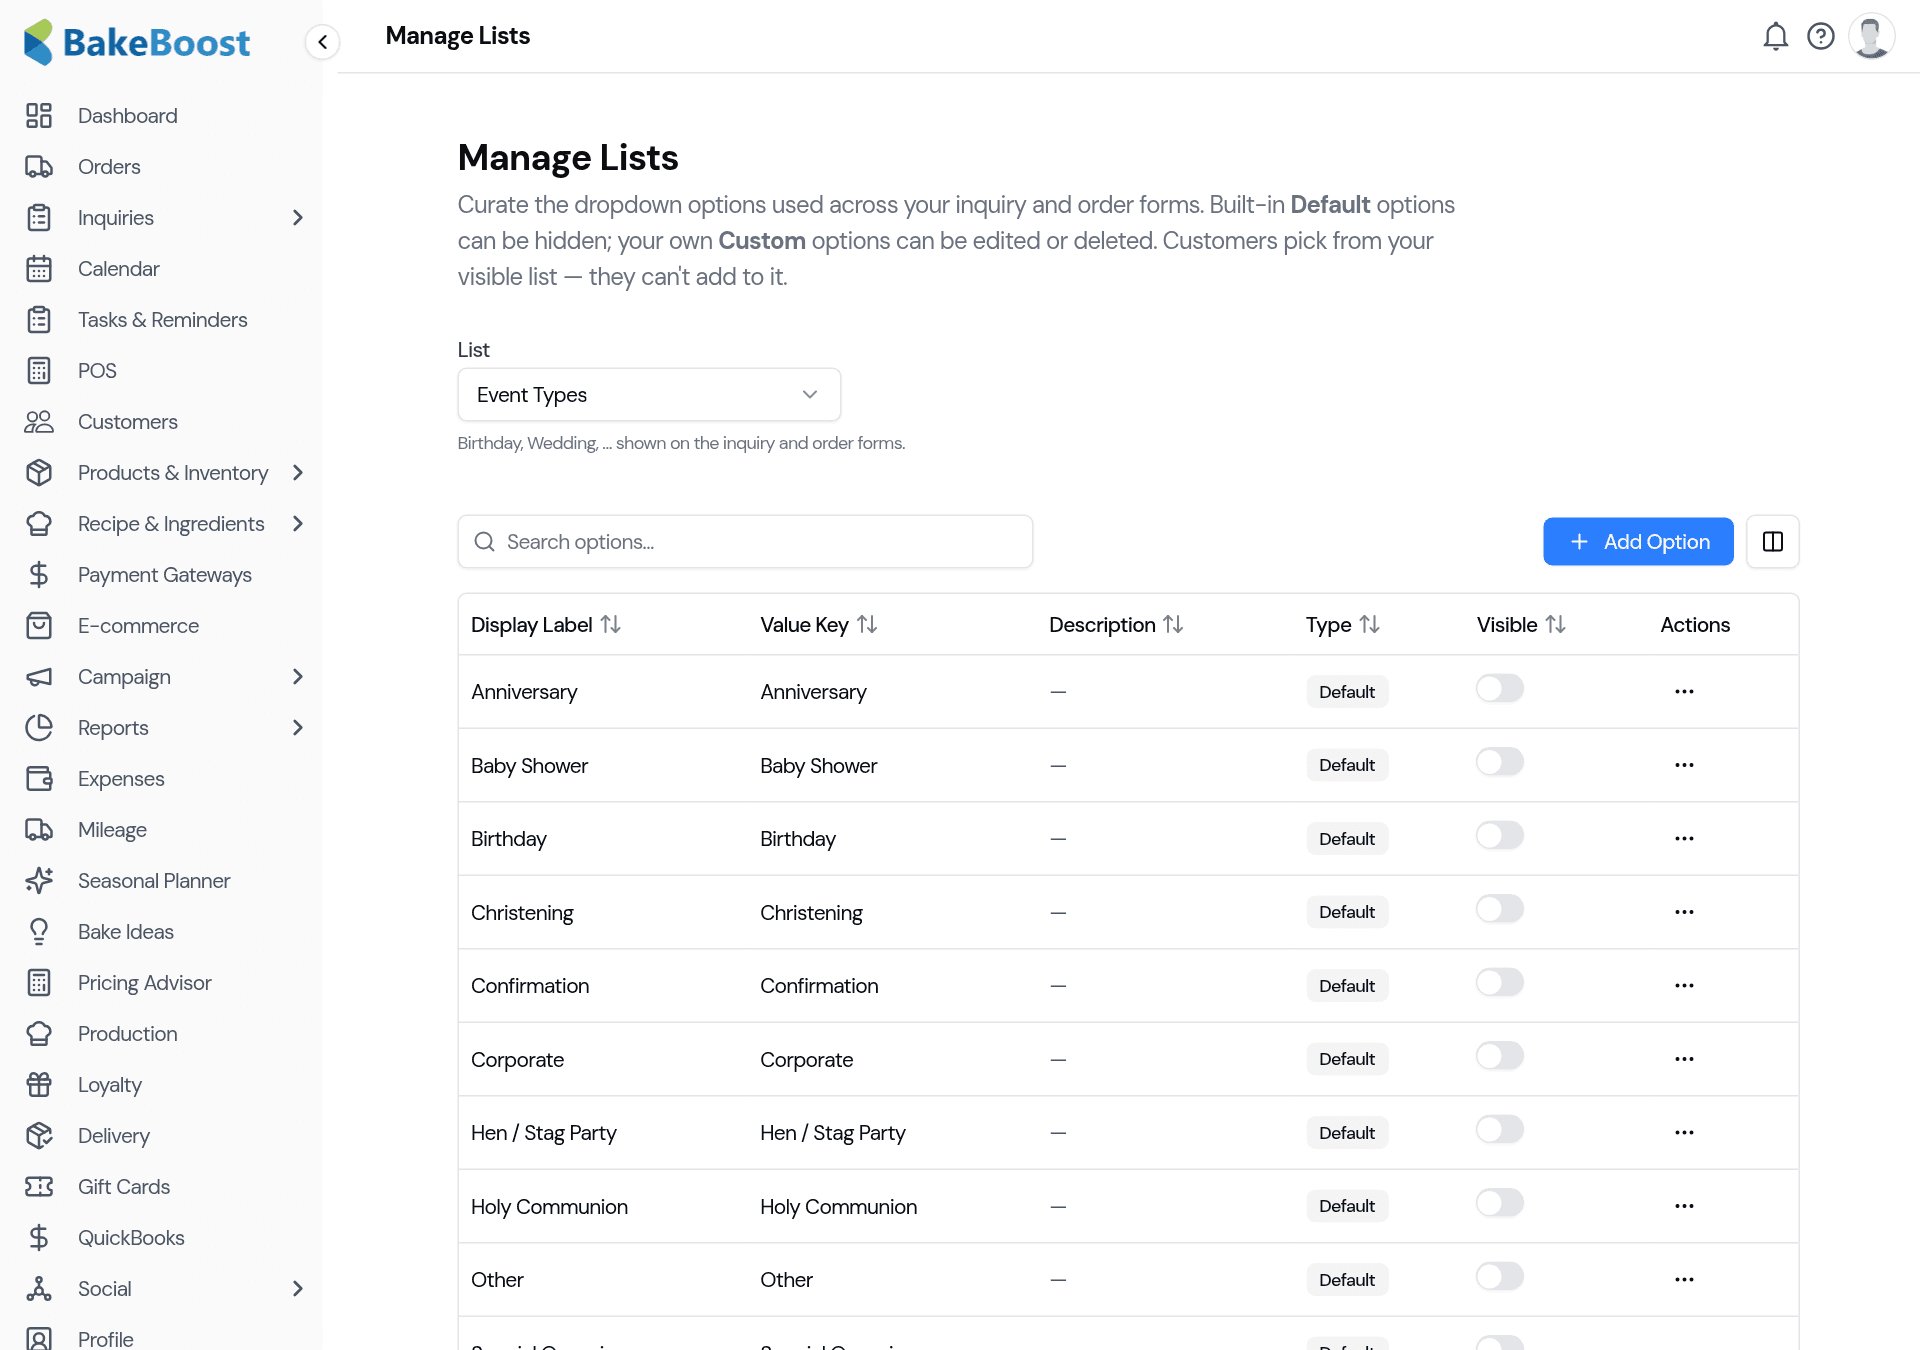
For each list you can:
- Add your own options — a custom event type or service you offer that isn't in the defaults.
- Hide the ones you don't use — turn off the built-in defaults that don't fit your bakery, so the dropdown stays short and relevant.
- Edit or remove your custom options any time.
Good to know
- Brand the form. Match your colours and preview before you publish.
- Ask for what you need. Tune the fields on the Content tab.
- Put it on your own site. The Embed tab gives you a snippet — enquiries still flow into Bake Boost.
- Curate your dropdowns. Add your own options and hide the defaults you don't use.
- Consistency pays off. Tidy lists mean tidy data — better reports and filters down the line.
Last updated July 24, 2026