
Selling at the counter with POS
The in-store POS is a Growth feature. It works great on a tablet at the counter as well as on a computer.
1. Open the POS
Go to POS in the sidebar. Your products appear as tiles on the left, with the current order building up on the right.
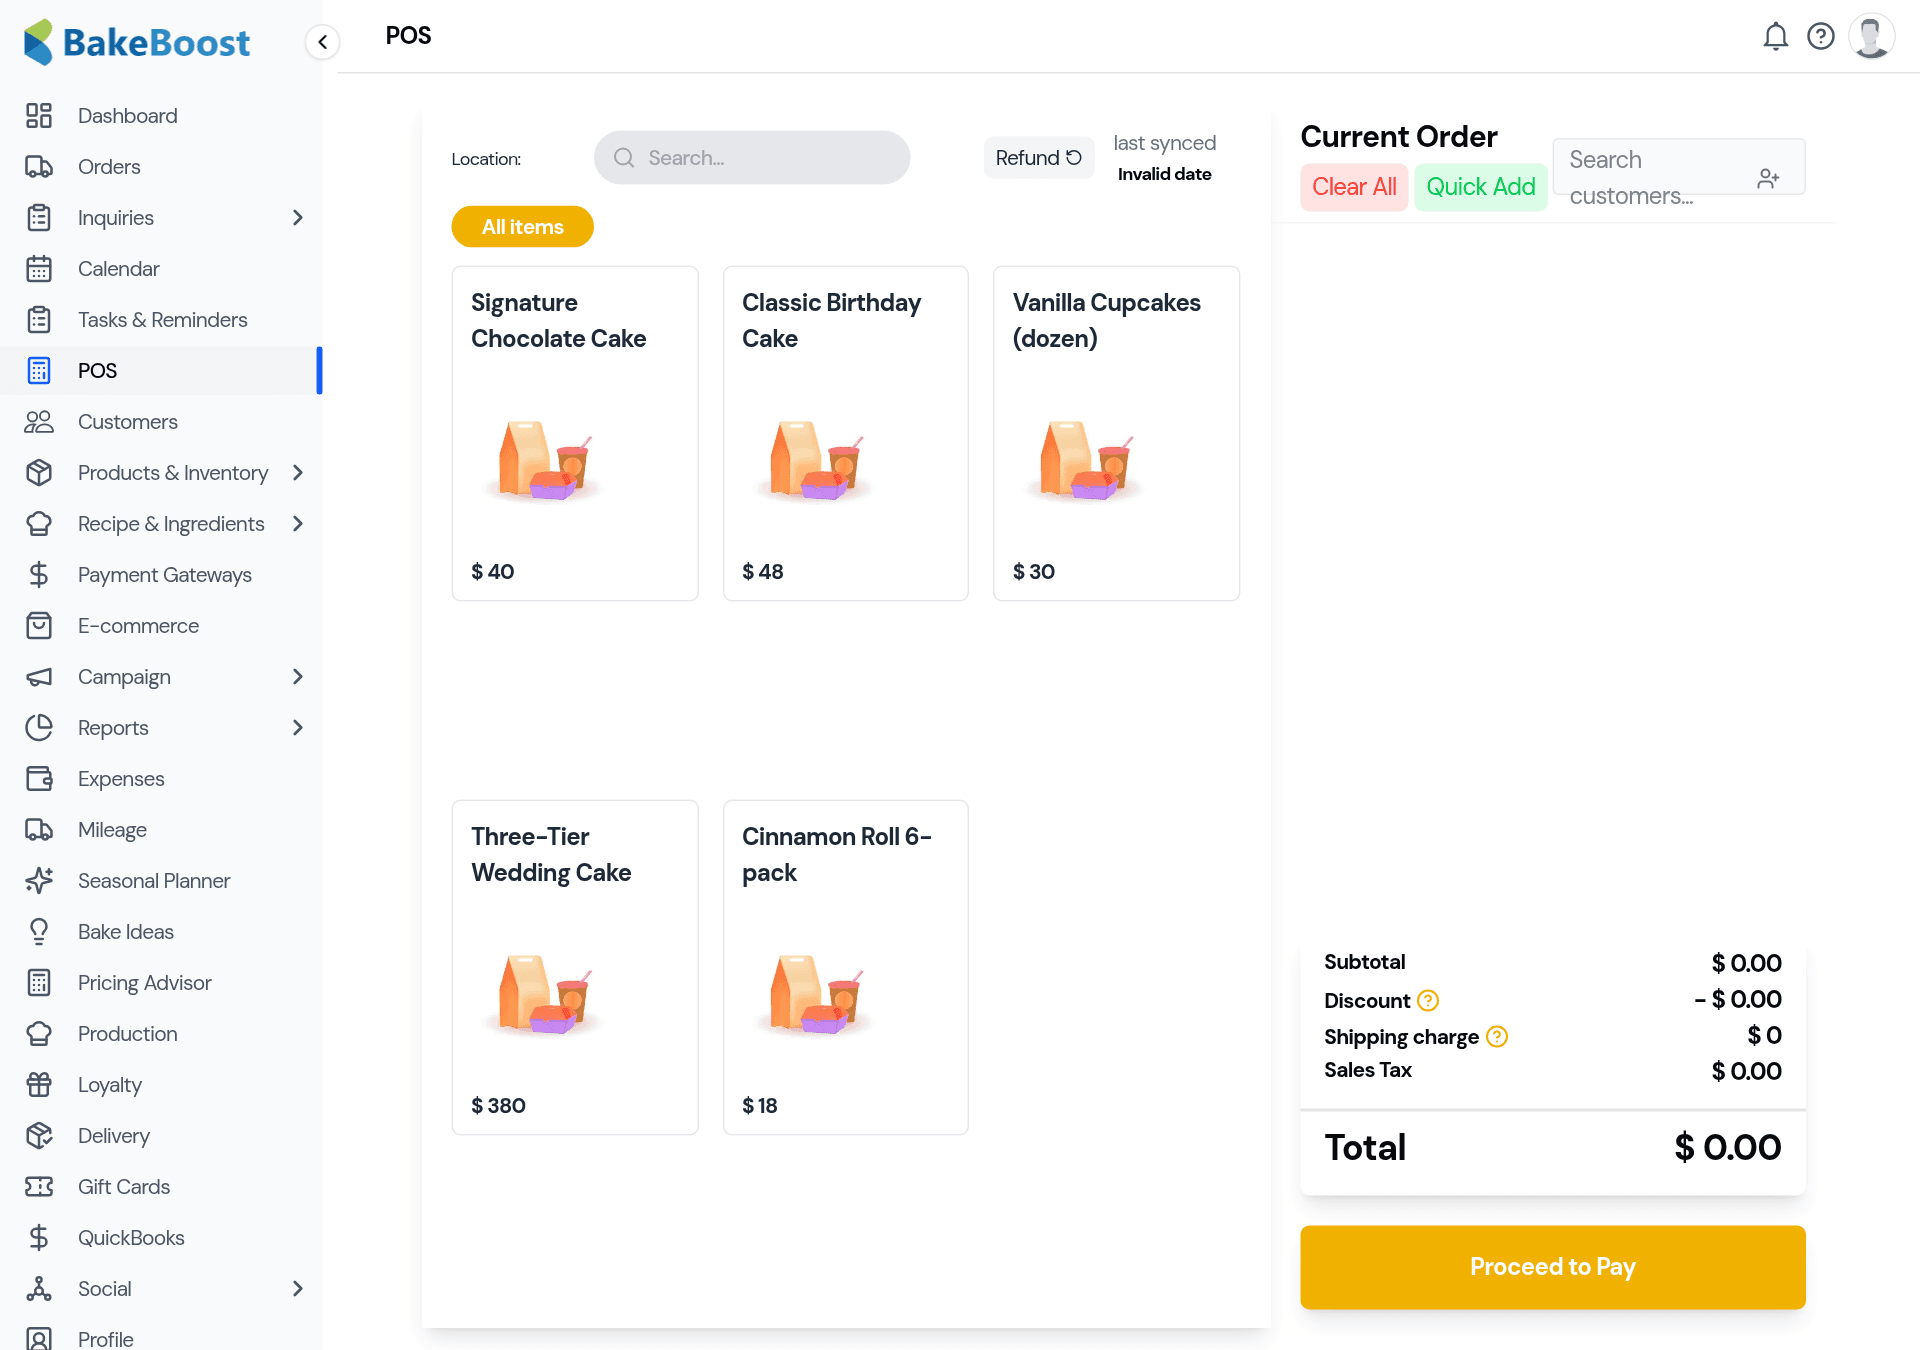
Only products with Sell on POS switched on show up here — so your till shows your counter range, not your made-to-order wedding cakes (unless you want them there). See Products and your catalogue for that switch.
2. Ring up a sale
- Tap products to add them to the current order — tap again to increase the quantity. Use the search box or Quick Add to find something fast.
- Add a customer (optional) — search for an existing one so the sale is added to their history and counts towards loyalty. Walk-ins can stay anonymous.
- Add a discount if you're giving one — the subtotal, tax and total update as you go.
3. Take payment
Click Proceed to Pay, choose how the customer is paying — cash, card, or your connected gateway — and complete the sale. A receipt is ready to print or email, and the till clears for the next customer.
Good to know
- Built for the counter. Tap-to-add tiles work well on a tablet by the till.
- Your POS range is yours to set. Only Sell on POS products appear — keep it to what you sell over the counter.
- Add the customer to build loyalty. Attaching a customer records the sale to their history and points.
- Take payment any way. Cash, card or your connected gateway.
- It's all one system. POS sales join your orders, stock and reports automatically — nothing to reconcile later.
Last updated July 24, 2026